

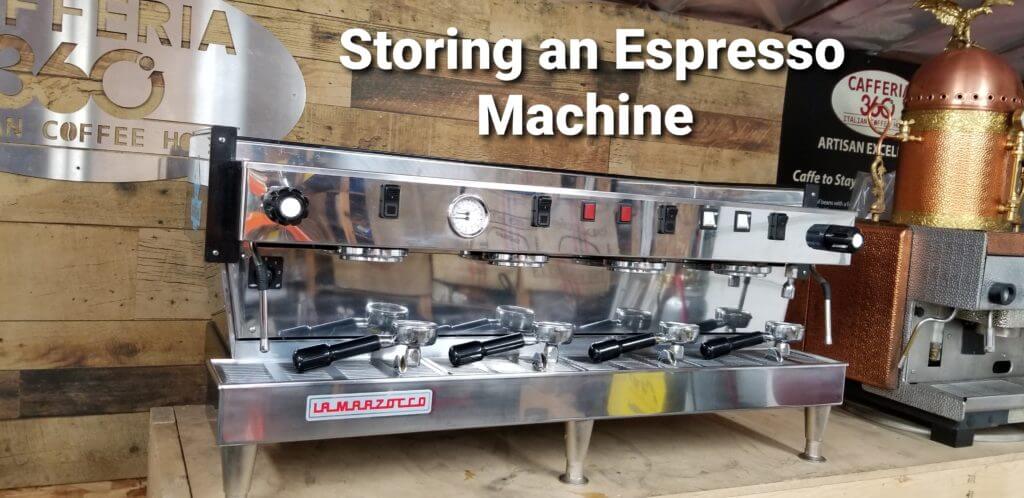
How to Store an Espresso Machine
November 20, 2020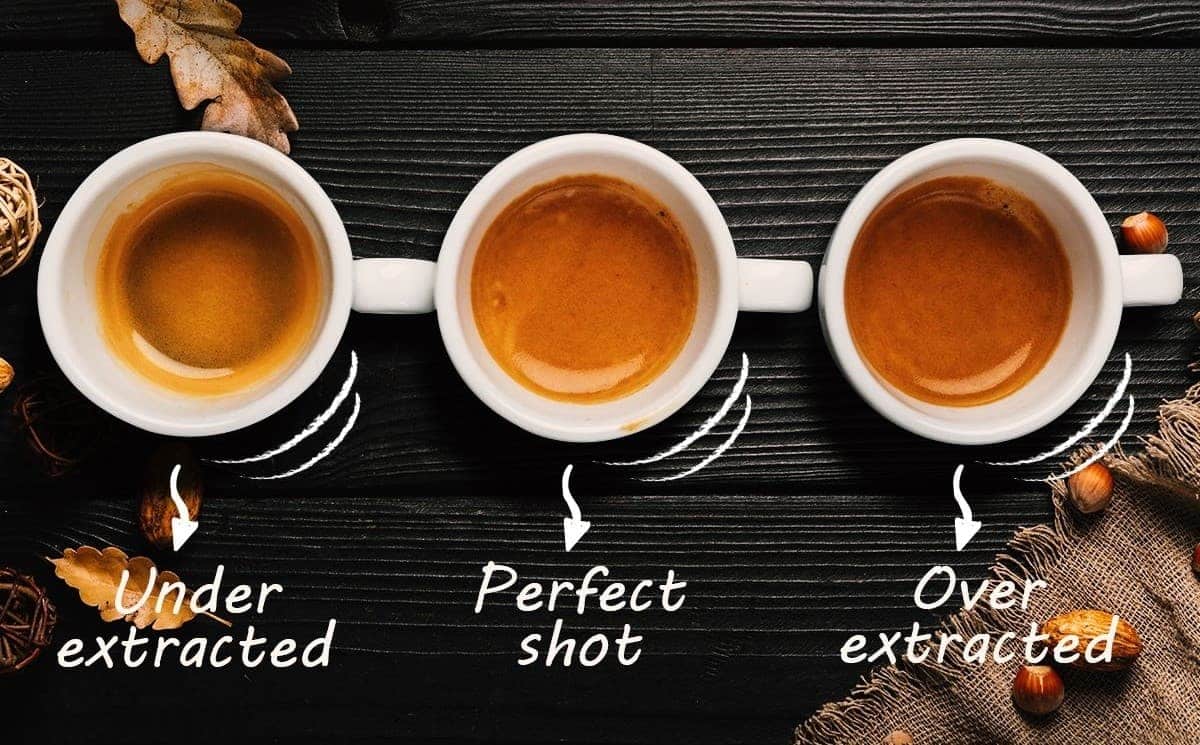
How to Make the Perfect Espresso
September 20, 2021
Snow White – La Marzocco Linea Classic
PART 1
Welcome to this build project. I found this machine just outside of Portland Oregon in Hood River which made a great excuse to turn it into a weekend in Portland.
The machine was fully functional when I hooked it up for the first time minus a small leak on one of the flow meters. Aside from that, it was in desperate need of a thorough cleaning.


PART 2
The first step in this build is a much needed cleaning as this olden goldie had been given up on years and years ago. That’s okay because I’ll give this machine the respect it deserves. As I had already planned on a complete tear down I started with removing all the electronics and hydraulics to give me full access to the entire frame with my trusty steam cleaner. I used a combination of steam and degreaser to remove the grime.


PART 3
At this point in the build I needed to figure out which parts were still good and which onces would be replaced. As can be seen in the picture below, either, Marzocco used aluminium drip tray catch or the previous tech was a thrifty one! On the bright side they did good by using aluminum rather than steel!
Next, I needed to Tig weld the hole next to the steam/brew gauge which was a key lock for entering programming mode. I opted to Tig the hole to minimize distortion. Not shown very well in the pictures but I will have to relocate the PID which is mounted top left side next to the steam knob via a flexible extension. Also, I would need to relocate the grey box housing the SSR seen on the lower left side outside the machine.
In the next part I will have the joy of removing the powder coating from the base before sand blasting the entire frame and panel.


PART 4
The next step involved removing the powder coat from the base and several trim pieces. Once completed I can head to the local U-blast to prep the surface for adhesion of powder coating.


